Residential photography rules
The photography in an announcement is the first thing for your possible buyer or renter to see. Depending on quality the photo can either conquer your customer or, on the contrary, push away. Dark, blurry photos with distorted corners can spoil the impression even from the most beautiful apartment.
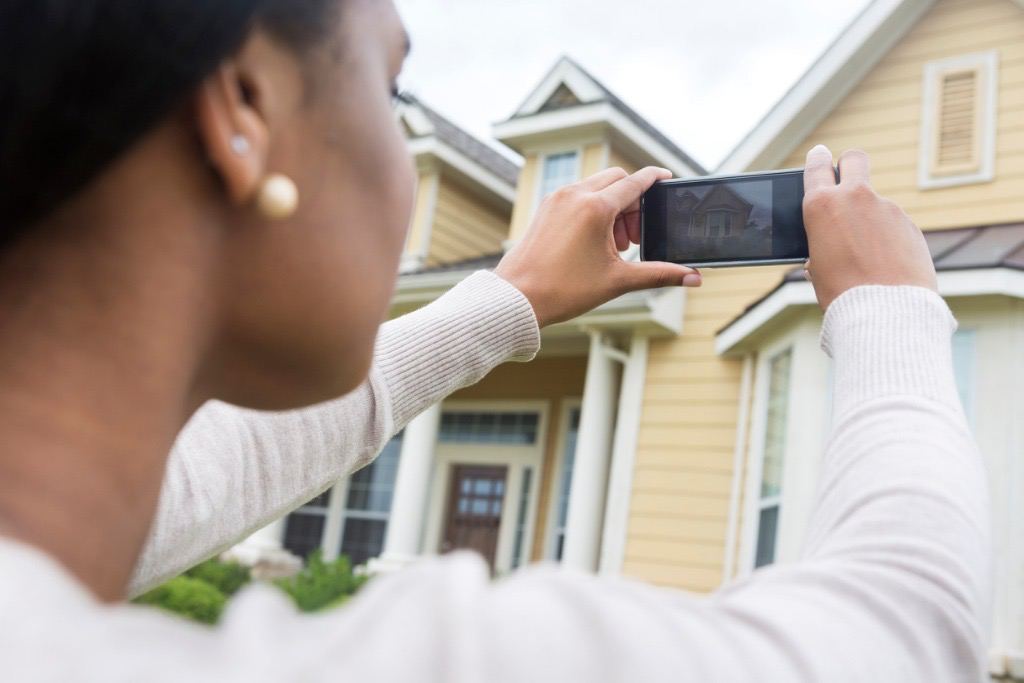
There’s an opinion that for a good quality photo you need a professional photographer and an expensive camera. But knowing some secrets of interior photo shoot you can take really attractive pictures on your own handling only with an ordinary smartphone.
Interior photo’s main task is to show the room’s real size, emphasize the advantages, convey the atmosphere of an accommodation and help the future tenant to imagine their life in that apartment. How do we accomplish it?
First thing first we prepare the room for photo shoot. Put away everything that may distract from the general view of the dwelling. Tenant shouldn’t have a feeling that the apartment is still occupied and that someone is living there. All the rooms should look new in the photo.
Therefore we get out of the frame:
• owner’s personal belongings: clothes, shoes, bags, children’s toys, bedding, towels, photographs, souvenirs, icons;
• any food, drinks, dishes from the tables, stove, sink, open cupboards;
• all the household supplies: vacuum cleaner, buckets, mops, rags, dryers, ironing boards, chemicals.
Sometimes apartment owners leave decorative items as pictures, pillows, plaids, vases with flowers or fruit baskets in the frame to create comfort. Remember that an attempt to decorate the room without knowledge of perception psychology, color concepts and composition basis may lead to the opposite effect. Instead of the comfort you may get a clutter effect. If you decided to add decoration you’d better invite a professional homestager.
Further we add light as much as possible. Dark shadows take space from any premise, such rooms look smaller in the photo than they are in fact. But no one wants to live in narrow apartments. Remember light is never enough, therefore:
• take the photos only during daylight hours. Ideally during the first half of the day;
• windows should be clean, they shouldn’t be covered with curtains for the photo shoot;
• turn on all the lights in the apartment (yes-yes, even in the daytime!). We recommend to use the strongest lamps possible, and in the dark corners add floor and table lamps.
And finally frame correctly. Remember, we are offering tenants a whole apartment, not separate corners and furniture. It’s necessary for full photos of every room to be in the announcement. When the renters come to take a look they should see the same as they saw in the photo. For a perfect picture:
• stand at the door of the room (against the window)
• turn your phone horizontally
• hold the phone at eye level or a bit lower
• place the camera so that three walls – two side and one opposite – can be caught in the frame
• make sure that the corners of walls and floor of the room are perpendicular in the frame, they don’t collapse or distort.
If your phone allows to change camera settings it’s recommended to install the frame size 3:4, turn on the web so that the horizon won’t collapse. But you shouldn’t use wide angle format as it distorts the room proportions a lot. And the main thing: don’t forget to wipe the lens before photo shoot!
This simple recommendations will help you stand out with your announcement among the others and attract the best renters! And if you don’t have time to take photographs on your own, specialists from tunmun will always help you out. They will take professional photographs and even crate a 3D model of your real estate.
Svetlana Kundal, special for tunmun.am.